This weekend was absolutely awesome. I learned an amazing deal about 3D printers, the materials that they use and how they differ from each other. 3D printing works by getting a material that is soft and making it hard, or getting a material that is hard and making it soft, and then hard again. Sounds like everything that can fit those parameters can be used as materials, and people have been experimenting with all sorts of things, from chocolate to human organs.
I was really surprised to find out that there have been 3D printers since 1986. Turns out the idea came from Chuck Hall, who coined the term "stereo lithography," which is why a file for 3D printing has the ending STL. These files can be used by all types of 3D printer, not only the most common one that we use. As it turns out, there are three types of 3D printer, and it's neat to learn about them all. Please excuse me while I geek out and talk about the scientific difference between these super cool pieces of tech!
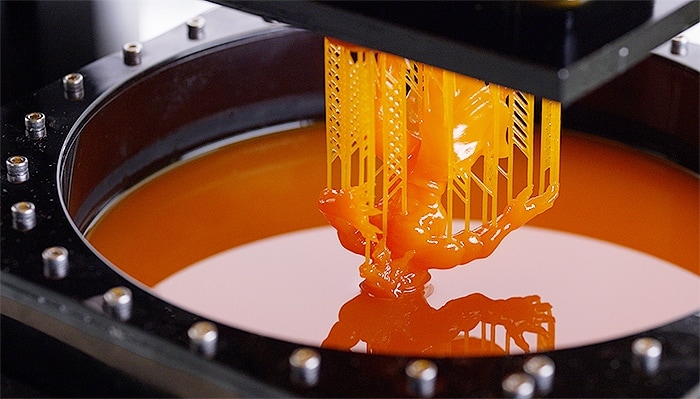
The first one, Stereo lithography or SLA, is really the stuff of sci-fi movies: a laser beam swims around a liquid, and as it touches the liquid, it hardens the material. The object rises from the liquid, like magic. The materials are made of resin, and normally not very strong; they are good for little things such as jewelry or chess pieces, but not for a car part, for instance. You can find a desktop version of these machines for about three thousand dollars.
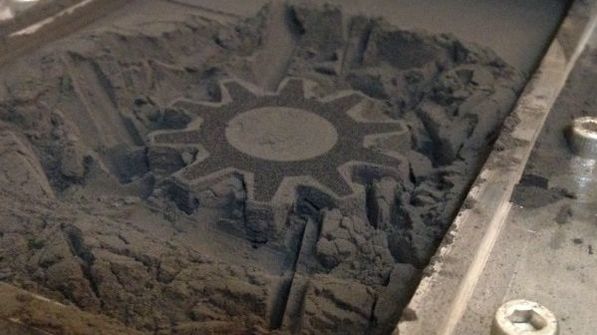
Selective laser sintering machines (SLS) are a little like SLAs, but instead of using a liquid, they utilize a fine dust. So, the laser touches the dust and fuses it together just right, to create a piece that literally emerges from the dust. This dust can me made of a variety of materials, even metal. These pieces are high resolution, and super strong. You can even print airplane parts with this! However, the thing is super expensive, the cheapest one being thirty thousand.
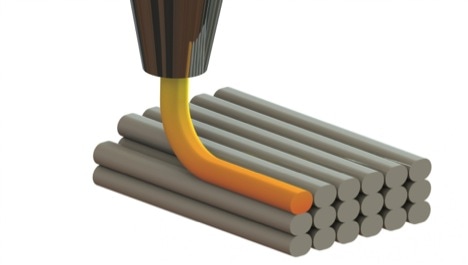
Finally, Fused deposition models, or FDM, are the machines we are used to, commonly found in our schools. It works by melting a filament that is then extruded through a nozzle, which moves in all directions through a set of arms and gears. The range of materials that are available is constantly growing; the most common one is polyactic acid, or PLA, which is actually corn-based and completely biodegradable. You can find them in a range of prices; Amazon has them for a few hundred bucks.
One thing that really amazed me was how cheap the material generally was. Knowing that the material is biodegradable, and knowing that each model probably only costs 20 to 30 cents, just makes me feel so great about advocating for the use in schools. The material spools of plastic are just twenty bucks a kilo; they come in all sorts of colours and are pretty long-lasting.
I just have to get over the time it takes to print anything... but hopefully this, too, is getting improved with time?
I was a little bummed by the very visible ridges that appear on the final models using FDM technology, but after a little research, I found that the models can be smoothed out with a brush and a piece of rag moistened with acetone (not very environmentally friendly, but hey, we use nail polish remover all the time, and it sounds like this uses much less!). The best way is acetone vapor, but the words "acetone" and "vapor" together in the same sentence make me very nervous.
Another thing that amazed me was how complex the file itself has to be in order to print a 3D object.
Like I said before, every 3D object is saved into an STL file; STL is like a PDF for 3D printing. But here is the thing -- an STL file is not ready for printing. It's just your model, done really nicely, but not really carrying any information regarding what to do with it.
This file needs to go through a process called "slicing," where the object is not only sliced, but where the software analyzes and comes up with the best path for the nozzle to follow in order to build the object, creating a little map. Each printer comes with its own slicing software; Cura, for instance, is the free program that comes with Ultimaker, and it is the program that will turn the STL file into something that can be read by the printer.
While you are slicing, you can also control how thick you want the object, and how much filling will be used... so you can control waste of material as well.
The printer follows this recipe and prints out the 3D model. Isn't this cool? :)
I'm really looking forward to learning how to design my object as well as preparing it for printing... and of course, holding that little musical instrument for the first time!
And, speaking of 3D printing musical instruments... after a short search online, it sounds like musicians are even more excited than me about the possibilities!
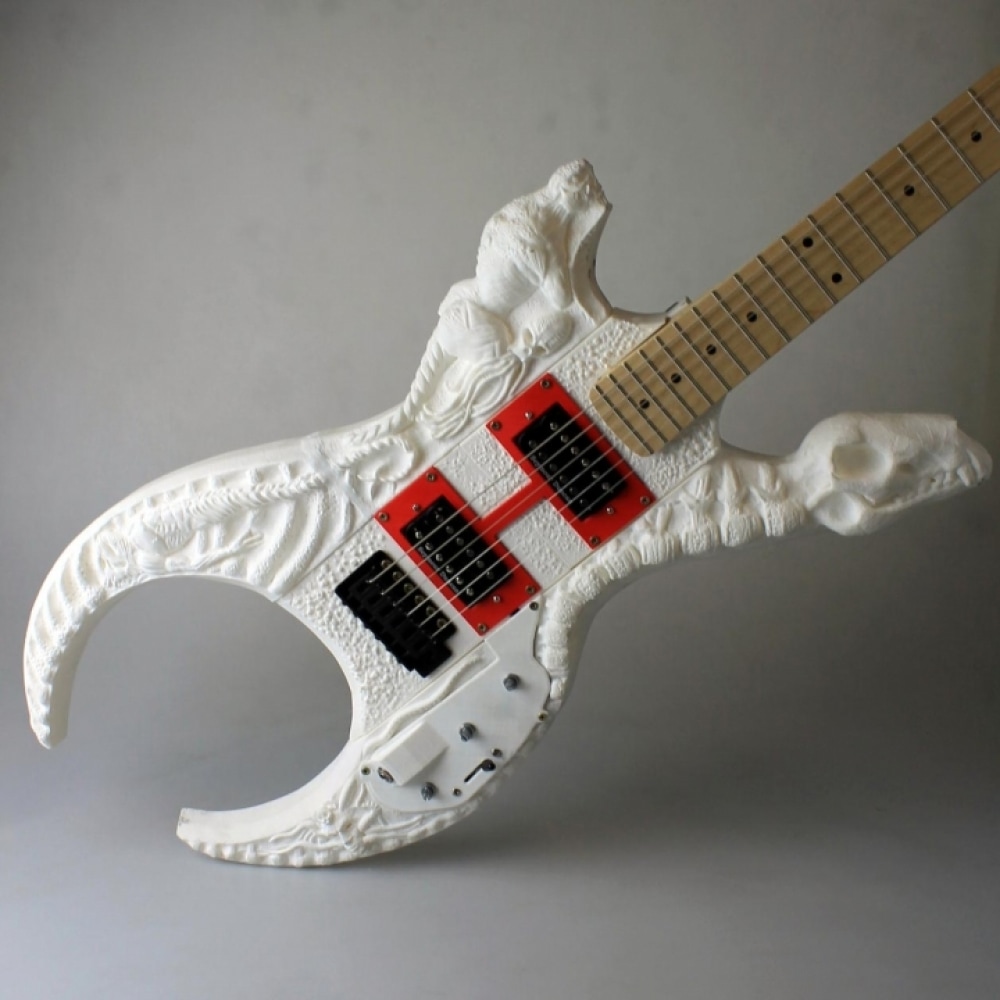
I'll leave you guys with this 3D printed guitar! Fun, right?
 RSS Feed
